Some of us growing up wanted to be astronauts, and some of us wanted to be the nonchalant movie hacker with attitude. Those that reached the aspiration to spend their days on a keyboard now know:
It helps to have shortcuts.

The prototypical movie hacker: Emilio Estevez as Jack in Mission: Impossible
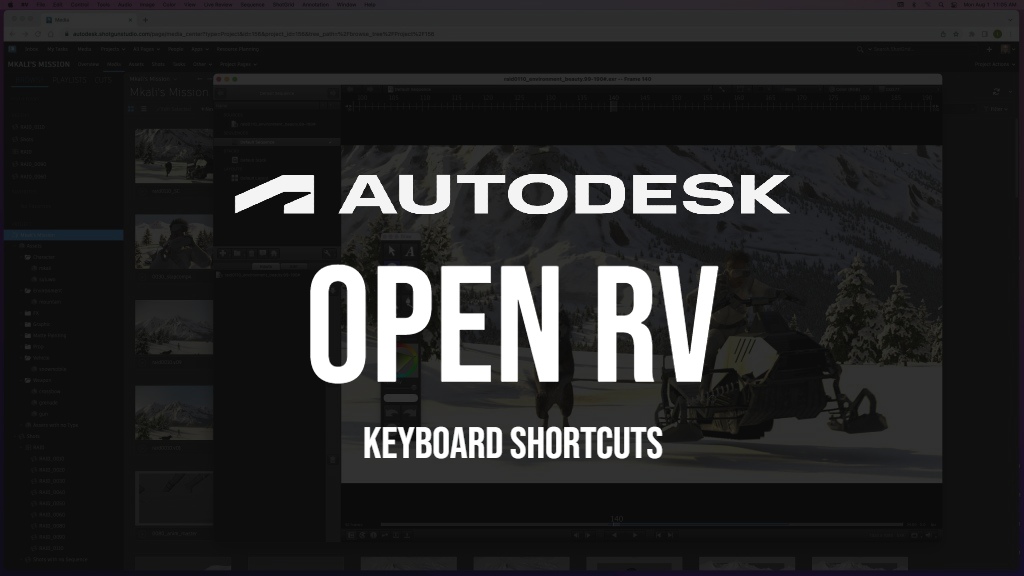
Autodesk’s Open RV is an open-source playback and review tool used across the VFX and animation fields as an industry-leading media review ecosystem. Senior Vice President of Media and Entertainment at Autodesk, Diana Colella, told the Academy Software Foundation in January 2023:
Releasing RV’s source code benefits the entire M&E community by promoting greater collaboration and innovation. New developments for RV will not only be supported by Autodesk engineers, but also through community-driven updates. Studios can now also customize, modify, and implement new core functionalities to RV that are tailored specifically to their project demands or workflow needs.
Whether you’re new to Open RV or a veteran of the commercial RV through a ShotGrid subscription, any user can benefit from shortcuts – especially those now familiarizing themselves with the new open-source version of RV. Thanks to Alexaz from the ShotGrid community, here’s the comprehensive toolbox of Open RV keyboard shortcuts:
| Hotkey | Action |
| F1 (Fn + F1 on Mac) | Toggle Menu Bar Visibility |
| F2 (Fn + F2 on Mac) | Toggle Heads-Up Timeline |
| F3 (Fn + F3 on Mac) | Toggle Timeline Magnifier |
| F4 (Fn + F4 on Mac) | Toggle Heads-Up Image Info |
| F5 (Fn + F5 on Mac) | Toggle Heads-Up Color Inspector |
| F6 (Fn + F6 on Mac) | Toggle Wipes |
| F7 (Fn + F7 on Mac) | Toggle Heads-Up Info Strip |
| F8 (Fn + F8 on Mac) | Toggle Heads-Up External Process Progress |
| ~ | Toggle Timeline |
| ` | Toggle Fullscreen Mode |
| ! | Set image scale to 1:1 on presentation device |
| * | Apply Random Luminance LUT |
| ( | Cycle Image Stack Backwards |
| ) | Cycle Image Stack Forwards |
| [ | Set In Point |
| ] | Set Out Point |
| \ | Reset In/Out Points |
| , | Set Frame Increment to -1 (reverse) |
| . | Set Frame Increment to 1 (forward) |
| < | Go to Matching Frame of Previous Source |
| > | Go to Matching Frame of Next Source |
| ? | Show Help Options |
| Space | Toggle Play |
| 1 | Scale 1:1 |
| 2 | Scale 2:1 |
| 3 | Scale 3:1 |
| 4 | Scale 4:1 |
| 5 | Scale 5:1 |
| 6 | Scale 6:1 |
| 7 | Scale 7:1 |
| 8 | Scale 8:1 |
| A | Toggle Real-Time Playback |
| a | Show Alpha Channel |
| B | Edit Display Brightness |
| b | Show Blue Channel |
| C | Toggle Region Caching |
| c | Normal Color Channel Display |
| D | Toggle Display LUT |
| e | Edit Current Source Relative Exposure |
| F | Enter FPS Value From Keyboard |
| f | Frame Image in View |
| G | Set Frame Number Using Keyboard |
| g | Show Green Channel |
| h | Edit Current Source Hue |
| I | Toggle Shotgun Info Widget |
| i | Toggle Heads-Up Image Info |
| k | Edit Current Source Contrast |
| L | Toggle Cineon Log to Linear Conversion |
| l | Show Image Luminance |
| M | Cycle Matte Opacity |
| m | Toggle Mark At Frame |
| n | Toggle Nearest Neighbor/Linear Filter |
| P | Toggle Ping/Pong Playback |
| p | Toggle Premult Display |
| q | Close Session |
| R | Force Reload of Current Source |
| r | Show Red Channel |
| S | Edit Current Source Saturation |
| T | Toggle Current Luminance LUT |
| t | Toggle Heads-Up Timeline |
| v | Enter Display Gamma |
| W | Fit Window to Pixels |
| w | Resize Window to Fit |
| X | Flop Image |
| Y | Flip Image |
| y | Edit Current Source Gamma |
| Alt + f (Option + f on Mac) | Set image scale fit image width on presentation device |
| Alt + l (Option + l on Mac) | Rotate Image 90deg Counter-Clockwise |
| Alt + n (Option + n on Mac) | Turn On Nudge Keys |
| Alt + r (Option + r on Mac) | Rotate Image 90deg Clockwise |
| Alt + s (Option + s on Mac) | Turn On Stereo Keys |
| Alt + left arrow (Option + left arrow on Mac) | Go to Previous Marked Frame |
| Alt + right arrow (Option + right arrow on Mac) | Go to Next Marked Frame |
| Keypad-enter (Fn + enter/return on Mac) | Set Frame Number Using Keyboard |
| Home (Fn + left arrow on Mac) | Go to Beginning of In/Out Range |
| End (Fn + right arrow on Mac) | Go to End of In/Out Region |
| Page-up (Fn + up arrow on Mac) | Set In/Out to Next Marked Range |
| Page-down (Fn + down arrow on Mac) | Set In/Out to Previous Marked Range |
| Ctrl + e (Cmd + e on Mac) | Export Quicktime Movie |
| Ctrl + f (Cmd + f on Mac) | Frame Image Width |
| Ctrl + i (Cmd + i on Mac) | Add Source |
| Ctrl + l (Cmd + l on Mac) | Toggle Look-Ahead Caching |
| Ctrl + m (Cmd + m on Mac) | Cycle Mattes |
| Ctrl + o (Cmd + o on Mac) | Open File |
| Ctrl + p (Cmd + p on Mac) | Toggle Presentation Mode |
| Ctrl + q (Cmd + q on Mac) | Close Session |
| Ctrl + s (Cmd + s on Mac) | Save Session |
| Ctrl + v (Cmd + v on Mac) | Edit Global Audio Volume |
| Ctrl + w (Cmd + w on Mac) | Close Session |
| Ctrl + left arrow (Cmd + left arrow on Mac) | Set In/Out to Previous Marked Range |
| Ctrl + right arrow (Cmd + right arrow on Mac) | Set In/Out to Next Marked Range |
| Ctrl + up arrow (Cmd + up arrow on Mac) | Expand In/Out to Neighboring Marked Ranges |
| Ctrl + down arrow (Cmd + down arrow on Mac) | Contract In/Out from Neighboring Marked Ranges |
| Left arrow | Move Back One Frame |
| Right arrow | Step Forward 1 Frame |
| Up arrow | Toggle Forward/Backward Playback |
| Down arrow | Toggle Play |
| Tab | Toggle Heads-Up Timeline |
| Shift + home (Shift + Fn + left arrow on Mac) | Reset All Color |
| Shift + left arrow | Go to Previous View |
| Shift + right arrow | Go to Next View |

That’s you, of course, after learning the RV keyboard shortcuts. (Fun hacker Seth Green in The Italian Job)
If you consider yourself on the Open RV level of, say, Neo in The Matrix, you can take your braggartly self and create custom RV hotkeys. More information on the user interface and keyboard shortcuts can be found in the Autodesk ShotGrid user interface chapter of the RV manual.
We thank all the early 2000s movie hackers of the world for their service of inspiring future VFX artists who like to smirk and type dramatically.

